Expert Tips
Unlocking Industry Secrets: Landscaping Pros with Years of Experience Spill the Beans!
This section is dedicated to empowering homeowners with the knowledge and insight needed to ensure their landscaping projects are done right. Too often, we have witnessed the consequences of poor workmanship from other contractors, resulting in costly repairs and disappointing outcomes. Some cut corners for a quick profit, while others simply lack the expertise to deliver quality results. We have seen the frustration and financial burden this places on homeowners, and it has inspired us to create this educational resource
To our fellow landscapers, we invite you to join us in raising the bar for industry standards. In the future, we plan to develop educational materials tailored for contractors to improve their skills and practices. Together, we can elevate the quality of work in our industry and support each other in delivering exceptional results. If you have insights or perspectives to share, we welcome your contributions and feedback. Let’s work together to set a new standard for excellence in landscaping
Guide to Planning Your Dream Landscaping Project: Tips for Homeowners
Are you ready to transform your outdoor space into a beautiful oasis that reflects your style and personality? Planning a landscaping project can be an exciting endeavour, but it requires careful consideration and strategic planning to ensure the success of your vision. As a homeowner, taking the time to plan your landscaping project thoroughly can help you avoid common pitfalls and achieve stunning results that enhance your property’s curb appeal and functionality.
The size of your project is directly related to the amount of planning involved. Whereas a simple project to repair an existing interlock requires an inspection of the area that needs a repair and an understanding of the minimum charge for a team to come for the repair. A complex project with a pool installation with surrounding landscaping requires detailed planning that starts from envisioning the final result.
Here are some basic tips on how to plan your future project that may be useful:
Define Your Vision:
It’s crucial to have a clear vision of what you want to achieve. Take the time to envision how you want your outdoor space to look and feel. Consider factors such as aesthetics, functionality, and maintenance requirements. Do you want a lush garden filled with colourful flowers, a cozy outdoor living area for entertaining guests, or a serene retreat for relaxation? By defining your vision early on, you can guide the rest of the planning process and ensure that your final result aligns with your desires.
Research and Inspiration:
Gather inspiration for your landscaping project by exploring design ideas, trends, and styles that resonate with you. Look for inspiration from landscaping magazines, online resources, and local garden tours to spark creativity and discover unique elements that you can incorporate into your design.
Assessing Your Property:
Every property is unique, with its own set of characteristics and challenges. Before starting your landscaping project, conduct a thorough assessment of your property. Take note of factors such as the size and shape of your yard, existing features like trees and structures, soil quality, sunlight exposure, and drainage patterns. Understanding these aspects will help you make informed decisions about plant selection, layout, and construction methods.
Setting a Budget:
Landscaping projects can vary widely in cost, depending on factors such as the scope of work, materials used, and labor involved. Before getting started, it’s essential to establish a realistic budget for your project. Consider how much you’re willing to invest in your outdoor space and prioritize your expenditures accordingly. Be sure to account for both the initial costs of installation and long-term maintenance expenses. By setting a budget upfront, you can avoid overspending and ensure that your project stays on track financially.
Creating a Plan:
Once you have a clear vision, assess your property, and set a budget, it’s time to create a detailed plan for your landscaping project. This plan should outline all aspects of the project, including design elements, plant selection, hardscape features, and construction timelines. Consider working with a professional landscape designer or architect to help bring your vision to life and ensure that your plan is both functional and aesthetically pleasing. A well-thought-out plan will serve as a roadmap for the entire project, guiding you through each step and helping to prevent costly mistakes.
Choosing Plants and Materials:
Selecting the right plants and materials is crucial to the success of your landscaping project. When choosing plants, consider factors such as climate, soil conditions, sunlight exposure, and water requirements. Opt for a mix of native and climate-appropriate species that will thrive in your environment with minimal maintenance. Likewise, choose durable and high-quality materials for hardscape features such as patios, walkways, and retaining walls. Investing in quality materials upfront will ensure the longevity and durability of your outdoor space.
Considering Sustainability:
In today’s environmentally conscious world, sustainability should be a key consideration in any landscaping project. Choose landscaping practices and materials that minimize water usage, reduce chemical inputs, and promote biodiversity. Incorporate features such as rain gardens, permeable paving, and native plantings to help conserve water, improve soil health, and support local wildlife. By designing a sustainable landscape, you can not only reduce your environmental footprint but also create a healthier and more resilient outdoor environment for you and your family to enjoy.
Implementing the Plan:
With your plan in place and materials selected, it’s time to bring your landscaping project to life. Depending on the scope of work, you may choose to tackle the project yourself or hire professional contractors for assistance. Be sure to follow your plan closely, keeping track of progress and making adjustments as needed along the way. Communication is key when working with contractors, so be sure to maintain open lines of communication to ensure that your vision is realized to your satisfaction.
Consult with Professionals:
Engaging with landscaping professionals, such as designers, contractors, or garden centers, can provide valuable insights and expertise to bring your vision to life. Seek recommendations, ask for quotes, and discuss your ideas with professionals to refine your plan and ensure its feasibility.
Maintaining Your Landscape:
Once your landscaping project is complete, ongoing maintenance is essential to keep your outdoor space looking its best. Develop a regular maintenance schedule that includes tasks such as watering, fertilizing, pruning, and weeding. Keep an eye out for signs of pests, diseases, or other issues and address them promptly to prevent further damage. Regular maintenance will not only preserve the beauty and health of your landscape but also protect your investment for years to come.
By following these tips and steps, you can effectively plan and execute a successful landscaping project that enhances your property’s aesthetic appeal and functionality. Whether you’re a novice gardener or an experienced landscaper, taking the time to plan and prepare will set the foundation for a beautiful outdoor space that you can enjoy for years to come. Start planning your dream landscaping project today and watch your vision come to life!

How to Avoid Common Landscaping Problems to Enhance the Lifespan of Your Outdoor Space
As a landscapers with over two decades of experience, we’ve seen it all when it comes to outdoor spaces. From interlocking stone and retaining walls to natural stone and concrete work, every aspect plays a crucial role in the longevity of your landscaping. Before diving into the juicy industry secrets, let’s address the root cause of many landscaping headaches.
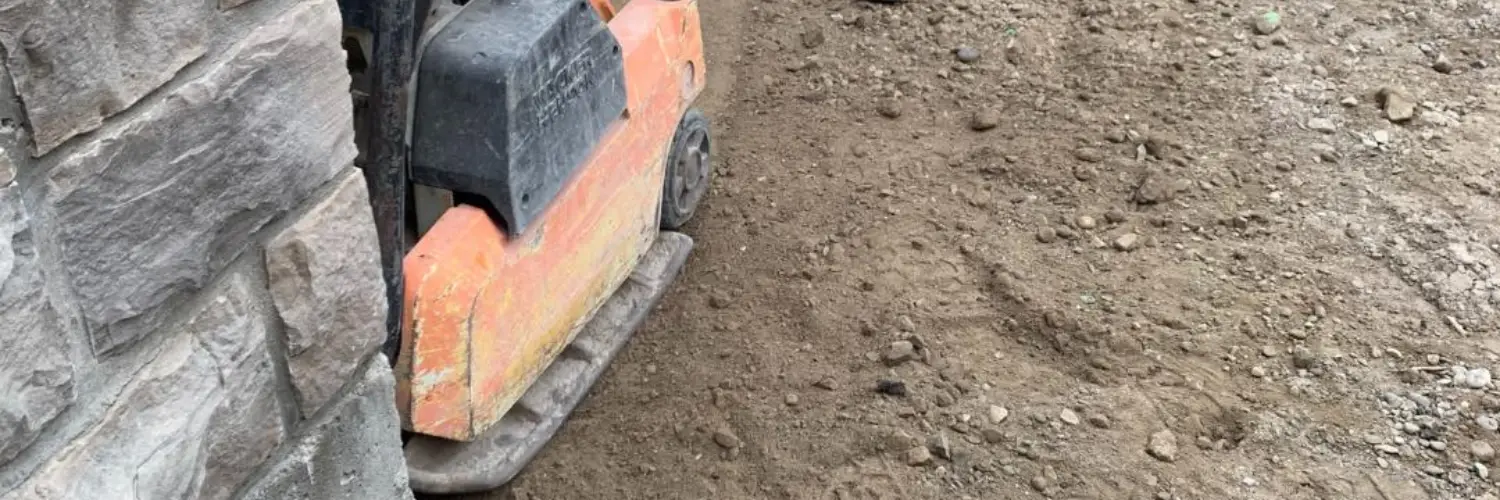
Interlocking:
One of the main issues we encounter with hardscaping, such as interlocking stone and retaining walls, is the insufficient amount of base. Without a properly compacted base, your interlocking will start sagging after the first winter. Improper grading and drainage issues can also wreak havoc on your hardscape, leading to water damage and sagging over time.
With landscaping prices soaring post-COVID, many contractors are cutting corners to keep prices low, sacrificing the quality of materials and base aggregates. This shortcut can result in problems surfacing after just one or two winters, leaving you with costly repairs and headaches down the road.
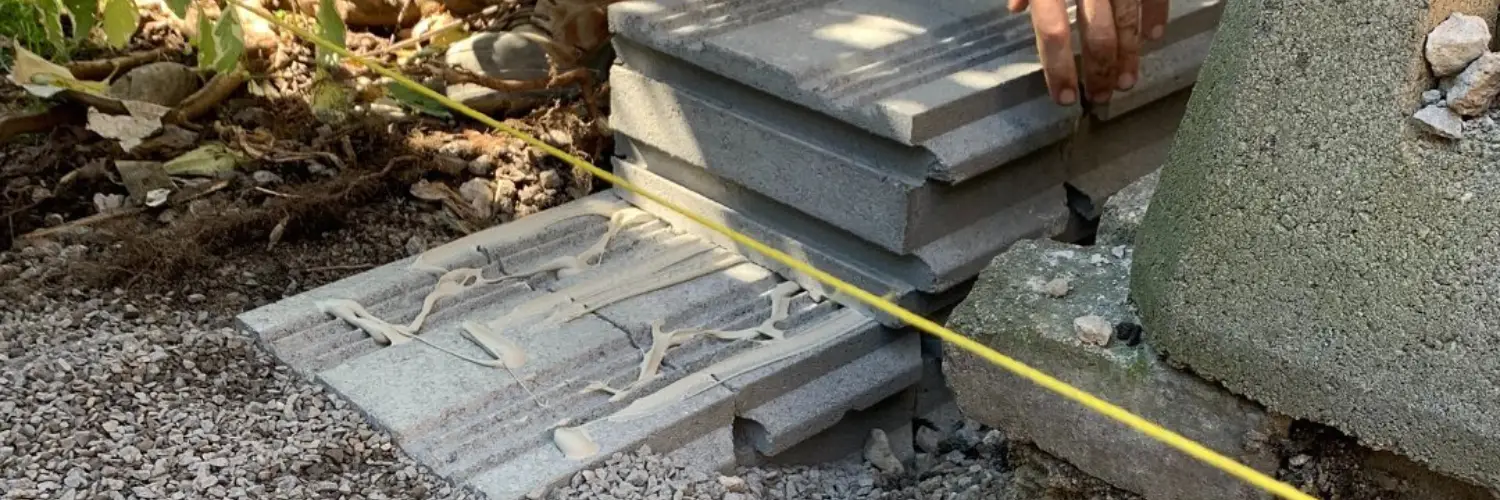
Retaining and Natural Walls:
When it comes to retaining walls and natural stone, backfill and drainage are key factors to prevent shifting and pressure build-up. We recommend a concrete foundation for walls higher than 4 feet to ensure stability and longevity.
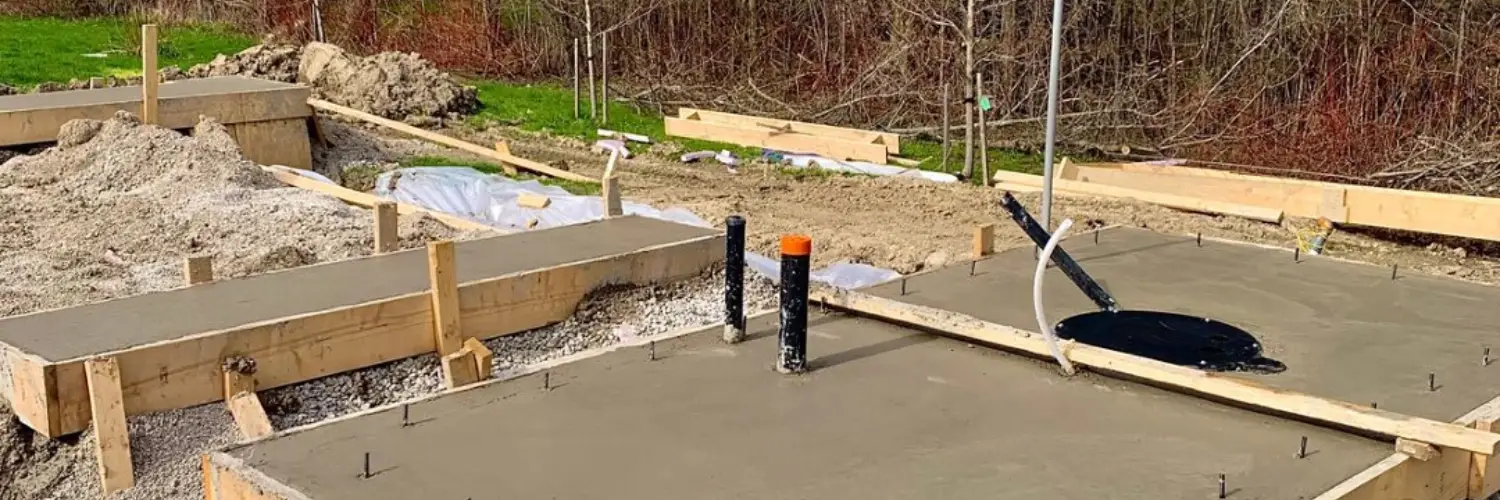
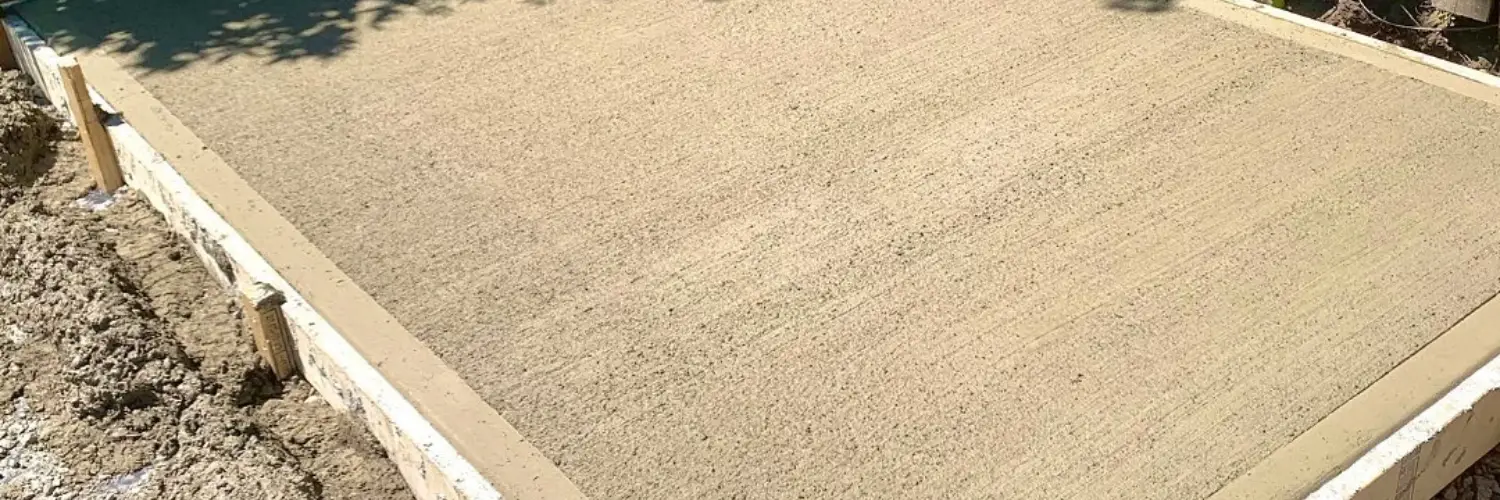
Concrete:
Concrete work issues can often be avoided by using the proper base and concrete thickness. Failure to meet requirements for load-bearing structures can result in cracking and the need for complete replacement.
Deck and Fence:
Deck and fence installations are not exempt from problems, with insufficient concrete footing depth leading to post lifting and sagging due to load-carrying issues or freezing water. Additionally, installing wet wood on a hot day can cause twisting and warping, impacting the overall look of the structure.
Planting and Grass Sodding:
In Ontario, where hard clay soil is prevalent, proper planting techniques are essential for tree, bush, and flower survival. Digging a larger hole and using the triple mix for filling ensures the roots have the best chance of thriving. For grass sodding, a layer of topsoil is crucial for successful growth.
By understanding and addressing these common landscaping problems, you can ensure your outdoor space remains beautiful and functional for years to come. Don’t let shortcuts and mistakes derail your landscaping dreams – invest in quality materials and workmanship to enjoy a lasting outdoor oasis.

Crack the Code: How to Nail Your Landscaping Project Costs!
Set a Realistic Budget:
Determine how much you’re willing to spend on your landscaping project and allocate funds accordingly. Be sure to account for both material and labour costs, as well as any unforeseen expenses.
If you want a product that is not provided by your contractor, you may find it elsewhere and request the installation cost. However, consider that the labour cost of your contractor may be higher than the labour cost to install the product from the manufacturer or the supplier. For example, it may be more cost-efficient to higher The Home Depot contractors to install pre-made sheds sourced from the store.
It is recommended to see in-person desired product however, getting on your own a material that is supplied by your contractor may not be the greatest idea. Often, contractors have discounts for some products that are usually factored in the final cost. In the event of some unexpected issues with a product, it is the contractor’s responsibility to sort it out. And, it is very important not to waste your time and energy on something that your contractor easily can deal with.
Prioritize Your Needs:
Identify the key elements of your landscaping project that are non-negotiable and prioritize them within your budget. This will help you focus your spending on the aspects of the project that are most important to you.
We recommend getting a quote for the entire project and if the budget does not allow you to do it all at once – break it into stages to accommodate your budget. Please note, that the original cost for the product may not be the same the next year. On average, prices are increased every year by 10%. Some companies may secure the price for an agreed period, while others will have the estimate valid for a limited time of 2 to 4 weeks.
The cost may be lower before the season starts however, it depends on the company’s pricing policy.
Obtain Multiple Quotes:
Shop around and obtain quotes from multiple landscaping companies or contractors before making a decision. This will give you a better idea of the average cost for your project and help you avoid overpaying.
The industry sets the cost for the final product. A quote typically incorporates material and labour costs as well as the profit that is required for a company to operate.
Consider the size of a company. Larger companies are most likely to have a higher cost of operation. On the other hand, smaller companies may not have the capability to undertake larger projects or the duration of a project may be extended.
Companies that specialize in unique designs or with an approach for long-lasting results will be more expansive than companies with standard installation. For example, an interlocking patio with a triple border and curves will be more expansive than a standard square even though square footage is the same. Also, the patio with a concrete foundation and drainage system will be more expansive than the one with a standard base.
It is not recommended to go with a contractor whose quote is significantly lower than others for the same product. It is either a scam or poor workmanship.
Consider DIY Options:
Depending on your skills and the complexity of the project, consider tackling some aspects of the landscaping project yourself to save on labour costs. Just be sure to realistically assess your abilities and budget for any necessary tools or materials.
Opt for Low-Maintenance Options:
Choose landscaping materials and plants that are low-maintenance and require minimal upkeep, unless gardening brings you joy. This will not only save you time and effort in the long run but also reduce ongoing maintenance costs.
Plan for the Long Term:
Invest in quality materials and craftsmanship that will stand the test of time, even if it means spending a little more upfront. This will help prevent costly repairs or replacements down the line. As the saying goes: “cheap pay twice”.
Be Flexible:
Be prepared to adjust your plans or make compromises if unexpected expenses arise or if certain aspects of the project end up costing more than anticipated. Flexibility is key to staying within your budget.
Occasionally, at the demolition stage, something is discovered that wasn’t there and requires additional labour time and/ or cost for disposal. For example, concrete steps that are enclosed with a wooden deck. For a company, it may be a significant loss especially if the project is on a smaller side.
Sometimes, a material looks good on a picture however, upon arrival you may not like it. Most of the time additional costs to change the material will apply. It is very important to see the product in person before making the decision. Luckily, most landscaping suppliers have display rooms.
Keep Track of Expenses:
Keep detailed records of all expenses related to your landscaping project, including receipts and invoices. This will help you stay organized and ensure that you’re staying within your budget.
Often, contractors will suggest additional products that will benefit the aesthetics or practicability of your project. It is very easy to double or triple the anticipated budget cost by adding several small items.
Communicate Clearly:
Maintain open communication with your landscaping contractor or designer throughout the project to avoid any misunderstandings or unexpected costs. Be upfront about your budget constraints and ask for regular updates on costs and progress.
By following these tips and staying proactive throughout the landscaping project, you can effectively manage costs and ensure a successful outcome that meets their budgetary constraints.

From Dream to Reality: Navigating the Timeline of Your Landscaping Project
The duration of a landscaping project can vary depending on factors such as the scope of work, the size of the project, the weather conditions, and the availability of materials and labour. While every project is unique, here is a general timeline outlining the different stages involved in a typical landscaping project:
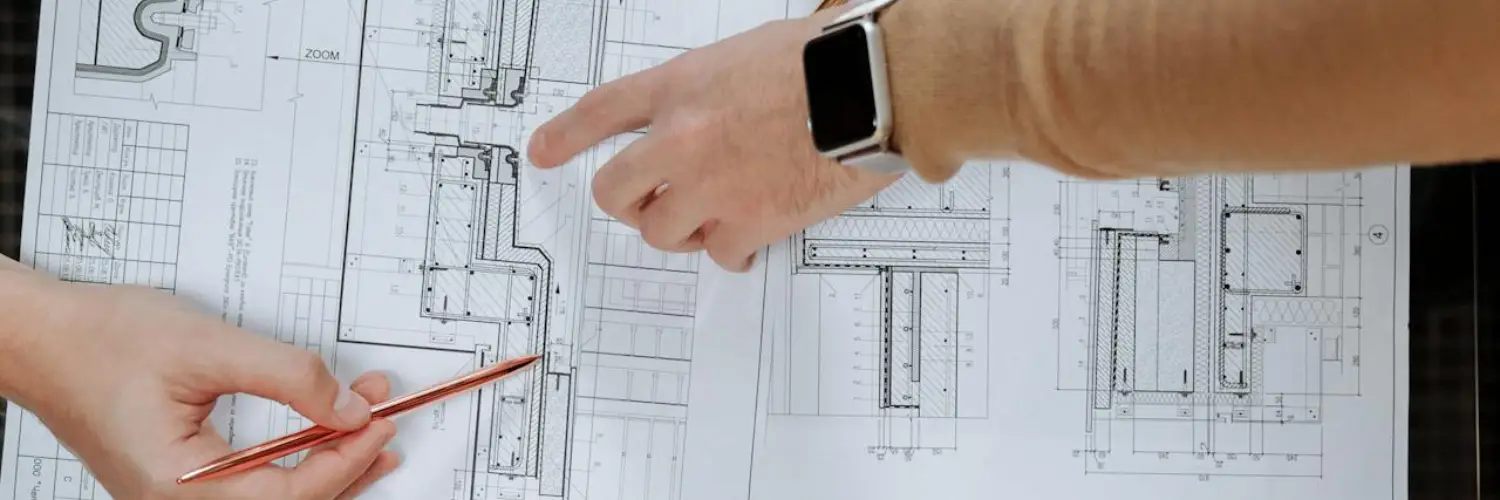
Planning and Design Phase:
Duration: 1 – 4 weeks
During this phase, the homeowner works with a landscape designer or contractor to develop a comprehensive plan for the project. This includes assessing the site, discussing design preferences, creating sketches or digital renderings, and finalizing the project scope and budget.
Depending on a project and the ability to find common ground among the decision-makers this phase can be done upon the initial meeting with a contractor or continue for a very long time.
Permitting and Approvals:
Duration: 2 – 4 weeks
Depending on the complexity of the project and local regulations, obtaining necessary permits and approvals from local authorities may be required. This process can vary in duration and may involve submitting plans, paying fees, and waiting for approval.
Some municipalities are more difficult than others. Mississauga and Markham are known to be fairly difficult to obtain permits. There is a chance of inspectors requesting changes to the design or additional paperwork even though the initial submission was done correctly.
Waiting Period:
Duration 2 – 6 weeks
Most of the companies will have a waiting period before starting your project. It depends on the size of the company, availability in schedule and time of the year. Bigger companies with multiple teams commonly will have shorter waiting times where, whereas smaller companies have longer time.
We recommend to start looking for a contractor ahead of time. If a contractor is available immediately, it is a good idea to ask why is that. It is understandable if your project is smaller and used to fill up gaps in the schedule. However, if a contractor doesn’t have ongoing projects at the beginning or the middle of the season further investigation is required. You may want to look up available reviews and ask for recommendations.
Site Preparation:
Duration: 1 day – 1 weeks
Once the planning, permitting and waiting phases are complete, the site preparation begins. This may involve soil excavation, demolition of existing structures, clearing vegetation, grading the land, removing debris, and preparing the soil for planting or construction.
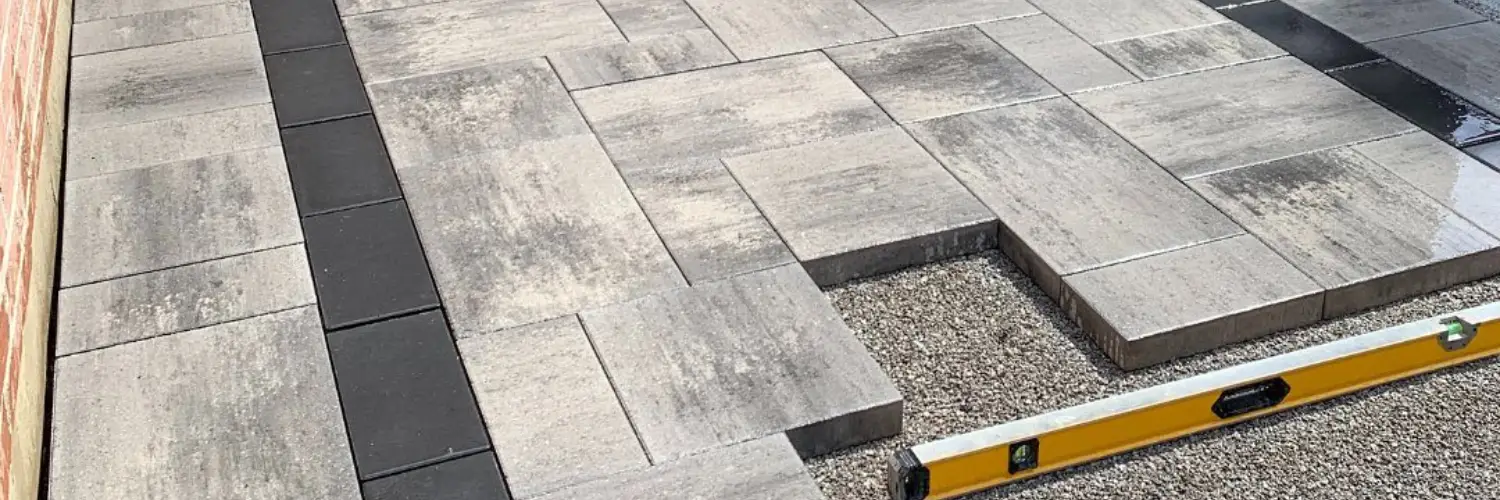
Hardscaping Installation:
Duration: 2 days – 6 weeks
The installation of hardscape elements such as patios, walkways, retaining walls, and other structural features typically follows site preparation. This stage may involve base preparation, laying foundations, and installing materials such as concrete, stone, or pavers.
Softscaping Installation:
Duration: 1 day – 2 weeks
Softscaping involves planting trees, shrubs, flowers, and other greenery to enhance the aesthetic appeal of the landscape. This stage may also include installing irrigation systems, mulching, and applying fertilizers or soil amendments.
Finishing Touches:
Duration: 1 day -2 weeks
Once the main elements of the landscaping project are in place, the finishing touches are added. This may include applying final touches to hardscape features, installing lighting, adding decorative elements, and cleaning up the site.
Licensed Trades:
Duration: 1 day – 2 weeks
Some complex projects require licensed trades such as gas technicians, electricians or plumbers. Often, the main project can not continue until a certain trade is done with their work. Scheduling trades is a very important aspect of avoiding unnecessary delays.
We strongly recommend using only licensed trades for all gas, electrical and plumbing installations.
Final Inspection and Approval:
Duration: 1 day – 2 weeks
After the project is complete, a final inspection is conducted to ensure that all work meets quality standards and complies with local regulations. Any remaining issues or concerns are addressed, and the project is officially approved.
It’s important to note that the duration of each stage may vary depending on the specific requirements of the project and external factors such as weather conditions and contractor availability. Additionally, unforeseen challenges or changes to the project scope may impact the timeline. Working closely with a reputable landscaping contractor and maintaining open communication throughout the process can help ensure that the project stays on track and is completed in a timely manner.

Revamping Your Outdoor Oasis: A Guide to Residential Landscaping Demolition
Embarking on a residential landscaping project can be an exciting endeavour, but before you can transform your outdoor space into the oasis of your dreams, it’s often necessary to clear the slate through landscaping demolition. Whether you’re looking to remove old features, overhaul existing elements, or start fresh with a blank canvas, landscaping demolition sets the stage for your renovation journey.
Some aspects of demolition can be good DIY to save on overall project costs. However, before breaking something, we strongly recommend looking into how it was built. Understanding of structural build may ease up the process of demolishing.
Assessing the Landscape:
Before diving into demolition, take the time to assess your current landscape. Identify the features and elements that you wish to remove, such as outdated structures, overgrown vegetation, or hardscape materials in disrepair. Consider the overall vision for your new landscape and determine which elements can stay and which must go.
Safety First:
Safety should always be a top priority during landscaping demolition. Before starting any work, ensure that you have the appropriate safety gear, tools, and equipment for the job. Take precautions to protect yourself, your property, and any bystanders from potential hazards, such as falling debris or uneven terrain.
Planning the Demolition Process:
Once you’ve identified the elements to be removed, develop a plan for the demolition process. Determine the sequence in which features will be demolished and establish a timeline for completion. Consider factors such as access to the site, disposal of debris, and any permits or regulations that may apply.
Removing Structures and Features:
Begin the demolition process by removing structures and features such as old sheds, decks, fences, or retaining walls. Use appropriate tools and techniques to dismantle these elements safely, taking care to minimize damage to surrounding areas. Dispose of debris responsibly, either through recycling, repurposing, or proper disposal at a designated facility.
Clearing Vegetation:
Next, focus on clearing vegetation from the landscape. This may involve removing overgrown plants, trees, shrubs, or other greenery that no longer aligns with your vision for the space. Use pruning shears, chainsaws, or other tools as needed to cut back vegetation and clear the area effectively.
Demolishing Hardscape Elements:
If your landscape includes hardscape elements such as pathways, patios, or driveways, these may also need to be demolished as part of the renovation process. Use appropriate machinery, such as jackhammers or excavators, to break up concrete, stone, or other hardscape materials. Take care to minimize disruption to the surrounding landscape and protect existing structures from damage.
Grading and Site Preparation:
Once demolition is complete, take the time to grade the site and prepare the soil for new landscaping features. Level uneven terrain, remove any remaining debris or rubble, and amend the soil as needed to create a stable foundation for future landscaping elements.
Disposal and Cleanup:
Finally, properly dispose of all demolition debris and waste in accordance with local regulations. Consider renting a dumpster or hiring a waste removal service to facilitate the cleanup process. Please, note that soil, concrete, wood and yard waste can not be mixed in one bin and an extra charge may apply by the waste management company as they would need to sort it out upon arrival at the dump yard. Once the site is clear, take the opportunity to tidy up the area and prepare it for the next phase of your landscaping project.
Residential landscaping demolition is an essential first step in the journey toward creating your ideal outdoor space. By following proper safety precautions, planning the demolition process carefully, and executing the work methodically, you can clear the way for a successful landscape renovation that brings your vision to life. With a clean slate and a fresh start, the possibilities for your outdoor oasis are endless.
Hire a Contractor:
Hiring a contractor may be a better option if you consider the time spent on the demolition, related costs to acquire necessary tools and the cost of the disposal. Remember, your safety is very important and understanding of demolition process is necessary to avoid any injuries.
Suppose you choose to hire a contractor, important to investigate if they are familiar with the type of demolition you have for your project. WSIB and insurance are a must when it comes to demolition that potentially may be dangerous or damage your property. Request necessary paperwork from your contractor.

When embarking on a residential excavation project for landscaping, you should be aware of potential unexpected finds underground that could lead to cost increases. In addition to rocks, tree roots, or utility lines, you may come across old building foundations, buried debris, or artifacts from previous occupants. It’s essential to have a contingency plan in place and budget for potential unforeseen circumstances to avoid any surprises.


We have put in a great deal of effort to craft this section and sincerely hope you find it beneficial. Our commitment to enhancing our content is unwavering, as we strive to add more sections to educate homeowners on landscaping practices. We invite you to share your feedback and suggestions at the bottom of the page.
Your input is highly valued – thank you for taking the time to engage with us!
Coming Soon
Coming Soon
Coming Soon
Coming Soon
Coming Soon
Coming Soon
Coming Soon
Coming Soon
Coming Soon
Coming Soon
Coming Soon
Coming Soon